Streamlabs OBS Configuring
Streamlabs OBS is a free, open source streaming and recording software supported by Streamlabs.
Streamlabs OBS characteristics:
- The program is free and open source GitHub
- Adding multiple sources
- Effects support
- Free AAC codec (is required for HTML5 players)
- Images streaming
- Recording broadcasts
- Screen Capture
- Logo overlay
Step 1. Installing the encoder
To get started with the encoder, download it from the link and install it.
Step 2. Configuring the encoder
Overview
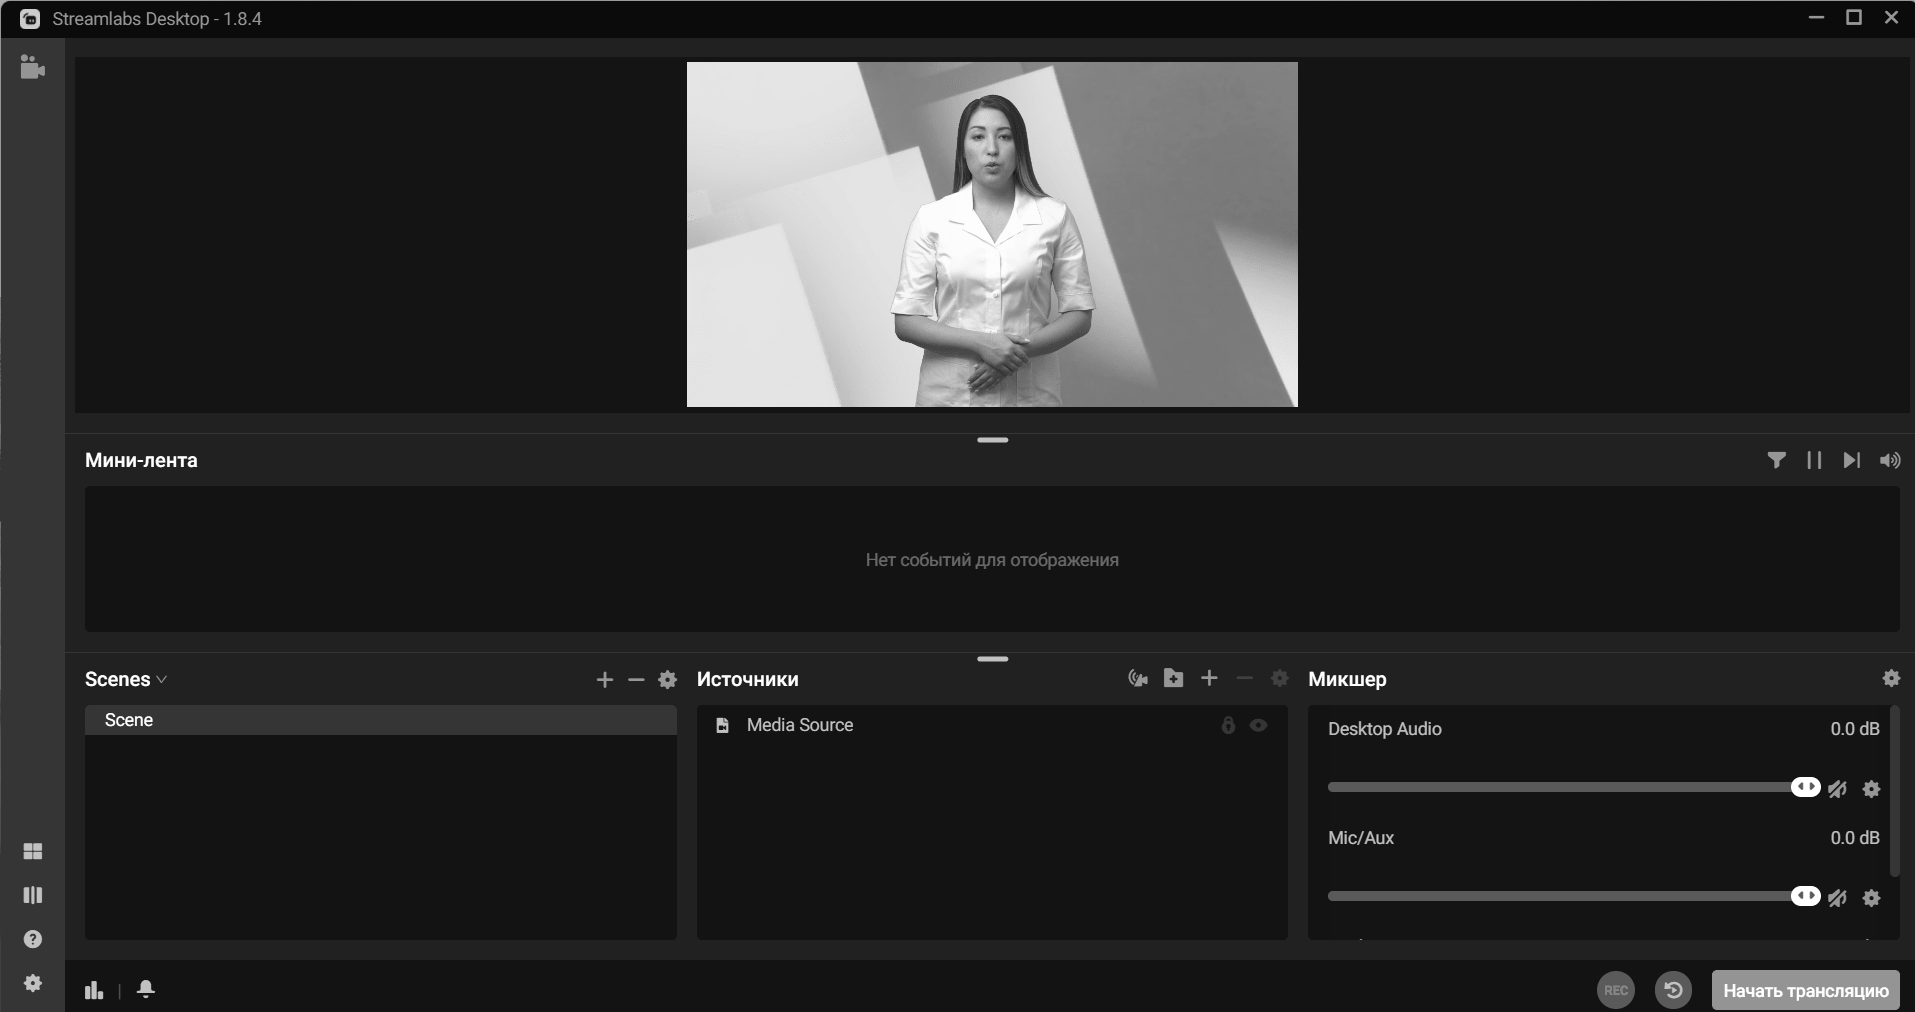
Scene is a logical entity with its own set of content resources.
Resources are the direct content providers. Among those there may be: an image, a camera, a desktop, a text, a game, a video file.
Having added the resources, you can easily manage their position and size.
Using several resources will help to solve the following problems:
- Placing a logo on the stream
- Aggregating several streams in one window
Recommended settings
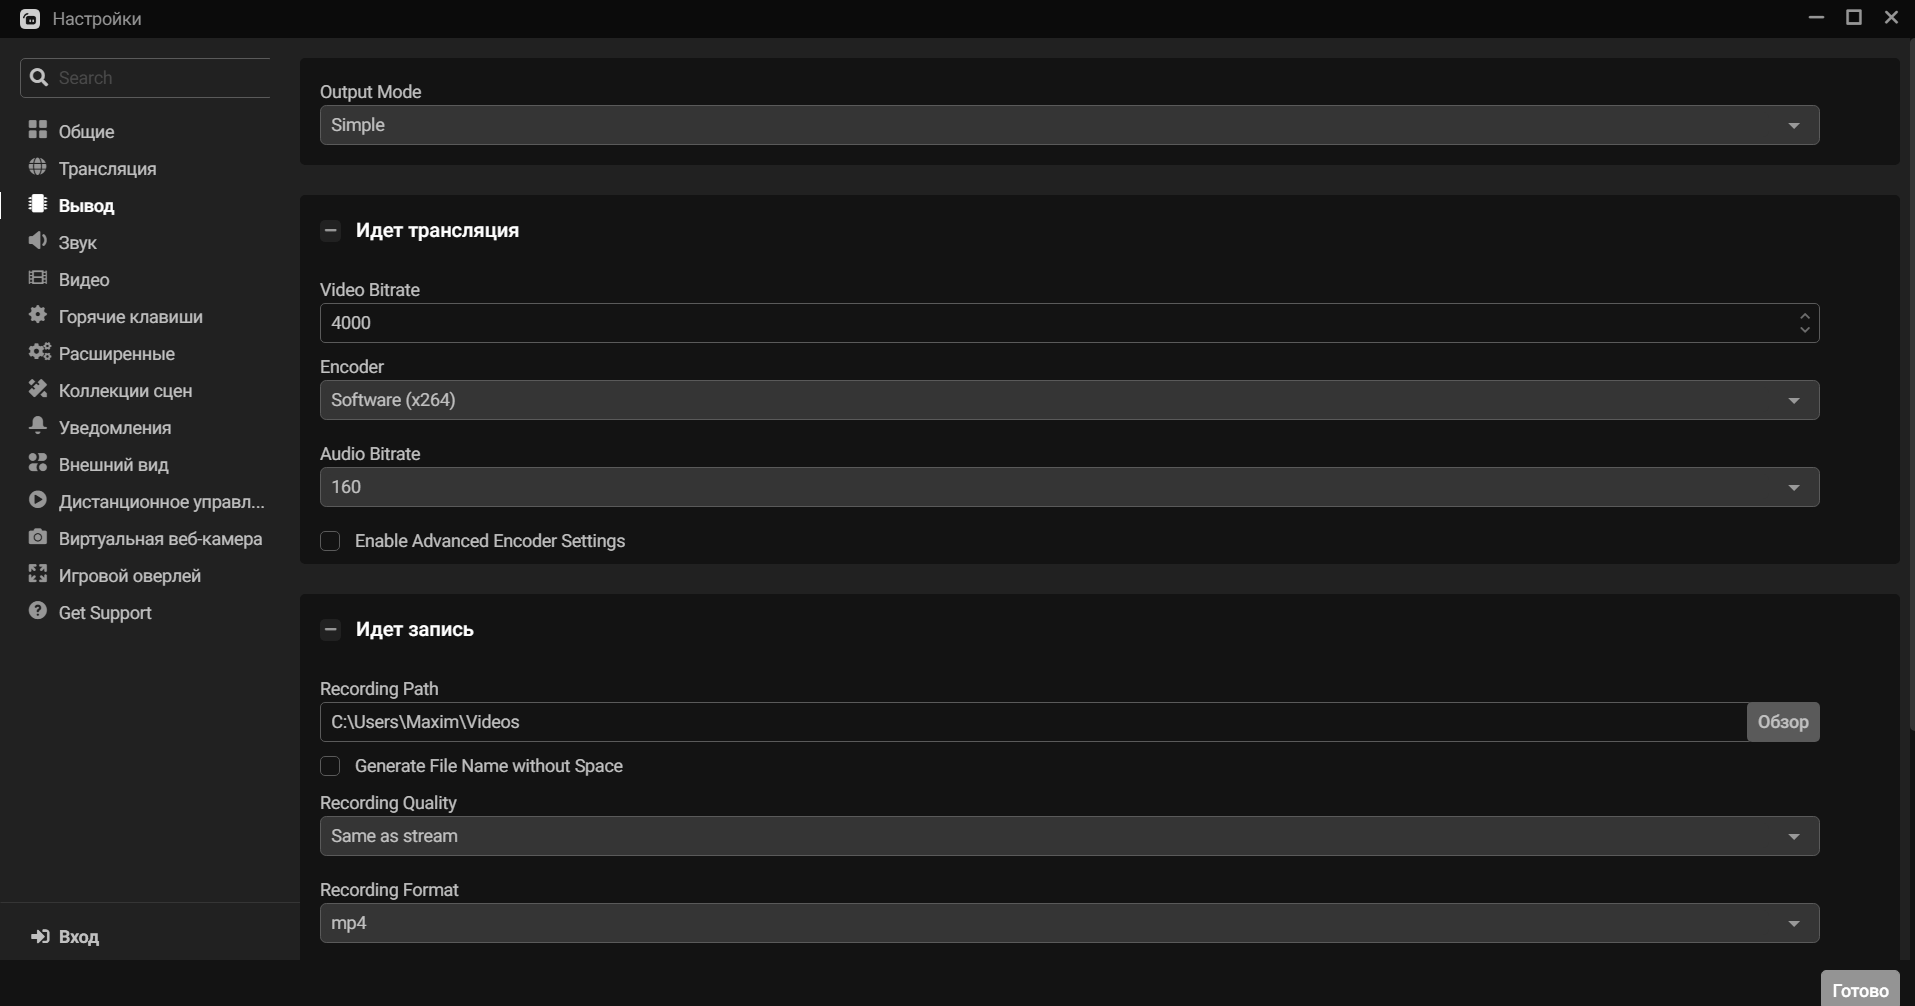
Open the encoder settings and choose the “Simple” output mode in the “Output” tab. After that set the following options:
- Encoder — x264
- Video BitRate – depends on the quality of the original image, but we would recommend the one not less then 2000 Kbit/sec.

Publication links
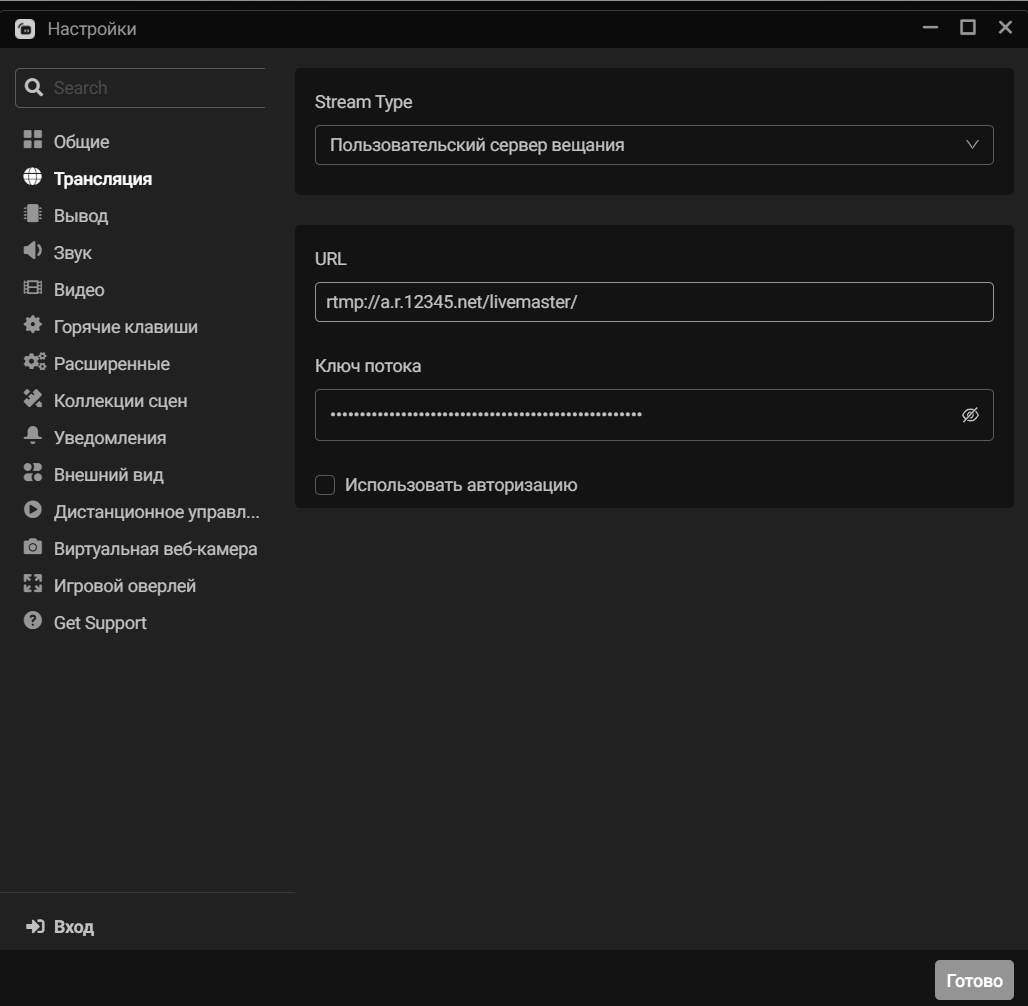
Go to the “Stream” tab then, choose the “Custom Streaming Server” out of the drop-down menu.
You will find the data for the following fields filling in the “Setup Instructions” section - “Publication Links”.
- URL = URL primary
- Stream key = Streams

Launching
Click “Go Live”.
Step 3. Publication
- You’ll see information and status of the stream on the screen.
- If the previous point didn't work - please ensure that you filled all the fields correct.

Step 4. Stream checking and embedding the Player into a website
Open the “Player” tab in your account.
Here you may watch your stream and copy the player code for embedding it into a webpage.