WordPress Integration
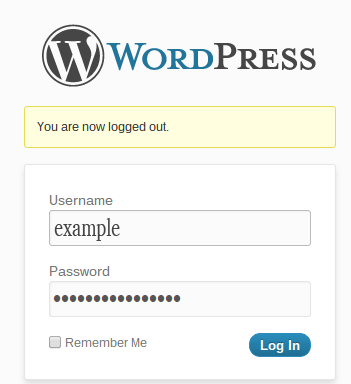
Step 1. Authorization
Log in your WordPress blog via yoursite.com/wp-admin and enter your personal account details.
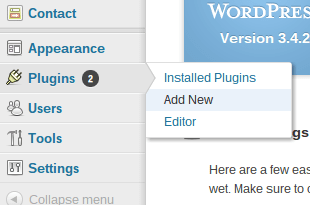
Step 2. Module Adding
Add new plugin.
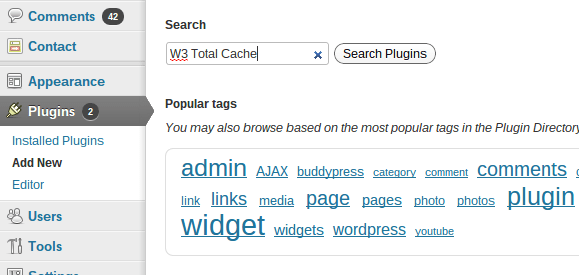
Step 3. Module Adding
Find W3 Total Cache.
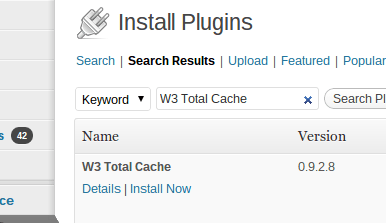
Step 4. Module Installation
Install W3 Total Cache.
Step 5. Module Installation
Confirm Installation.

Step 6. Module Activation
Activate the Plugin.
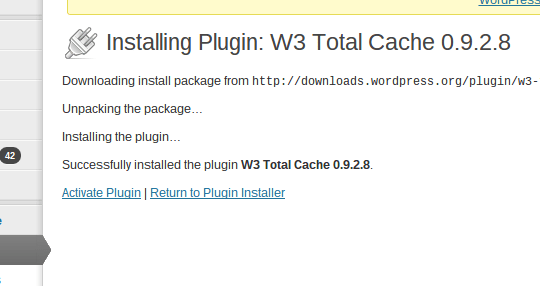
Step 7 (For experienced users).
Click «Performance» in the Plugins menu.
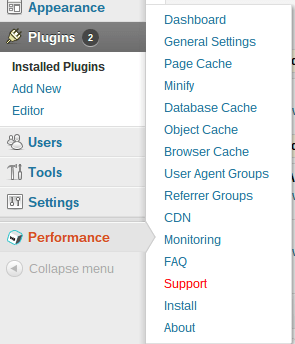
Step 8. Advanced Settings
Enable CDN in «General Settings» of Dashboard.

Step 9. Advanced Settings
Click «Specify it here».

Step 10. Advanced Settings
Insert your domain on Global Cloud Network network (find it in the email received from our manager).
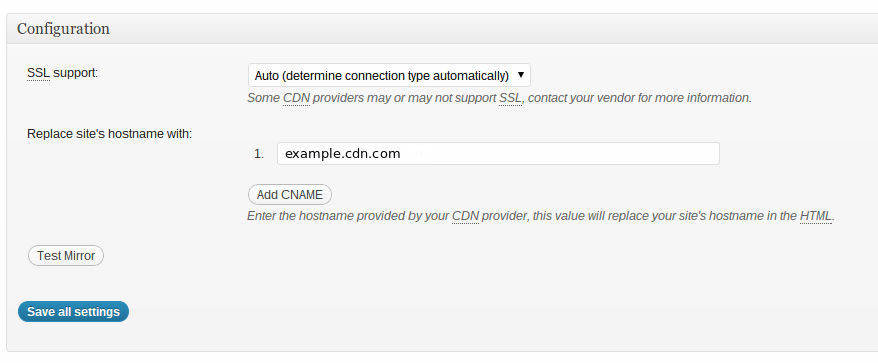
Step 11. Advanced Settings
Go back to «General Settings» and click “Enable” to enable CDN. Ensure that you’ve saved all settings.